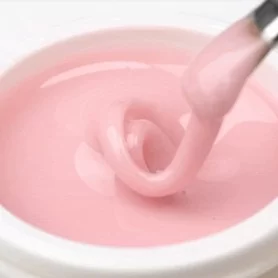
Nail gel OCHO NAILS transparent -15 g
FM-Gel, with phenomenal effects
Single nail gel OCHO NAILS GEL meets a number of requirements for both manicure and slightly less experienced users. This will allow you to create all your dream styles in a simple and fast way!
Gel is perfect to build nails, to give them the perfect shape and to create fashion and, above all, long-term styles. Thanks to tixotropy (so-called liquid memory), it is easily plunged, glazed and not plunged into a kutikul, which contributes to comfort manicure. Working with Ocho Nails is easy! The formula used facilitates the work and reduces the sense of accommodation.
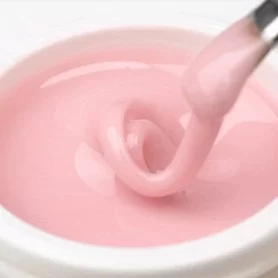
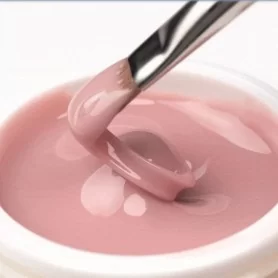
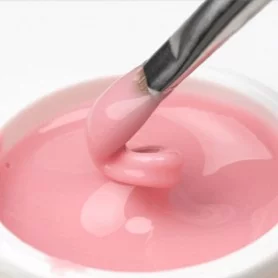
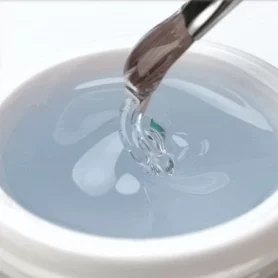
Ocho nail gel is available in 4 colours:
• SWETLO-ROZE is gently pink, ideally suitable for styles such as beby bumer or French style, as well as for routine use;
ROAD - candy pink, which looks great as a full manicure, but is also an excellent basis for other styles;
∙ COVER is a mattte dive, suitable as a natural, day-to-day manicure, guaranteeing a similar type of hand;
• CLEAR is transparent, allowing for a suitable basis for further laying, comparing nail flaws.
How do you put a gel on your nails?
1. Before processing begins, thoroughly disinfect your and clients with the hands of the antiseptic fluid and prepare the workplace accordingly.
2. Put your fingernails in the shape of the appropriate grading, carefully seal the plate with the polish block and prepare the uterus if necessary.
3. Smash the nail plate with a wattage disk dripped with a mug. You can use the primer.
4. To raise your fingernails, put a properly prepared template underneath them, and make sure he's fit. Then carry the gel and build the nail skeleton. Put him in the lamp.
5. Take off the uniform, and then put a gel on the established frame, creating a layout. It's important not to forget to take care of the so-called C curve.
6. Clean the gel surface with the cleaner. Then, with a bee, give the fingernails a shape and level the surface of the laying with a polish block.
7. Put the top coat on and dry in the lamp. If necessary, wipe out all the cleaners. For better care, we recommend the introduction of olive oil around the nails.


